Creating animated GIFs used to require downloading special software or using paid online services. Now ChatGPT provides an easy method to transform your pictures into animated GIFs using personalized effects.
All you have to do is upload a picture and include a prompt That outlines the animation you envision, and ChatGPT handles the rest. The whole process lasts only a few minutes from beginning to end.
If you require a GIF for platforms like social media, presentations, or simply for enjoyment, this simple approach caters to various image and animation requirements. Follow these steps to generate personalized GIFs right within ChatGPT.
1. Log in
First, log in to ChatGPT .
2. Attach your photo

Next, attach your photo .You can achieve this by clicking the plus (+) icon and choosing Upload from computer . All you need to do now is select your chosen image saved to your computer.
If you're using a mobile device, the process remains identical; however, you will have the choice to add an image from your gallery. Photos, Camera, or Files .
3. Enter your prompt here.
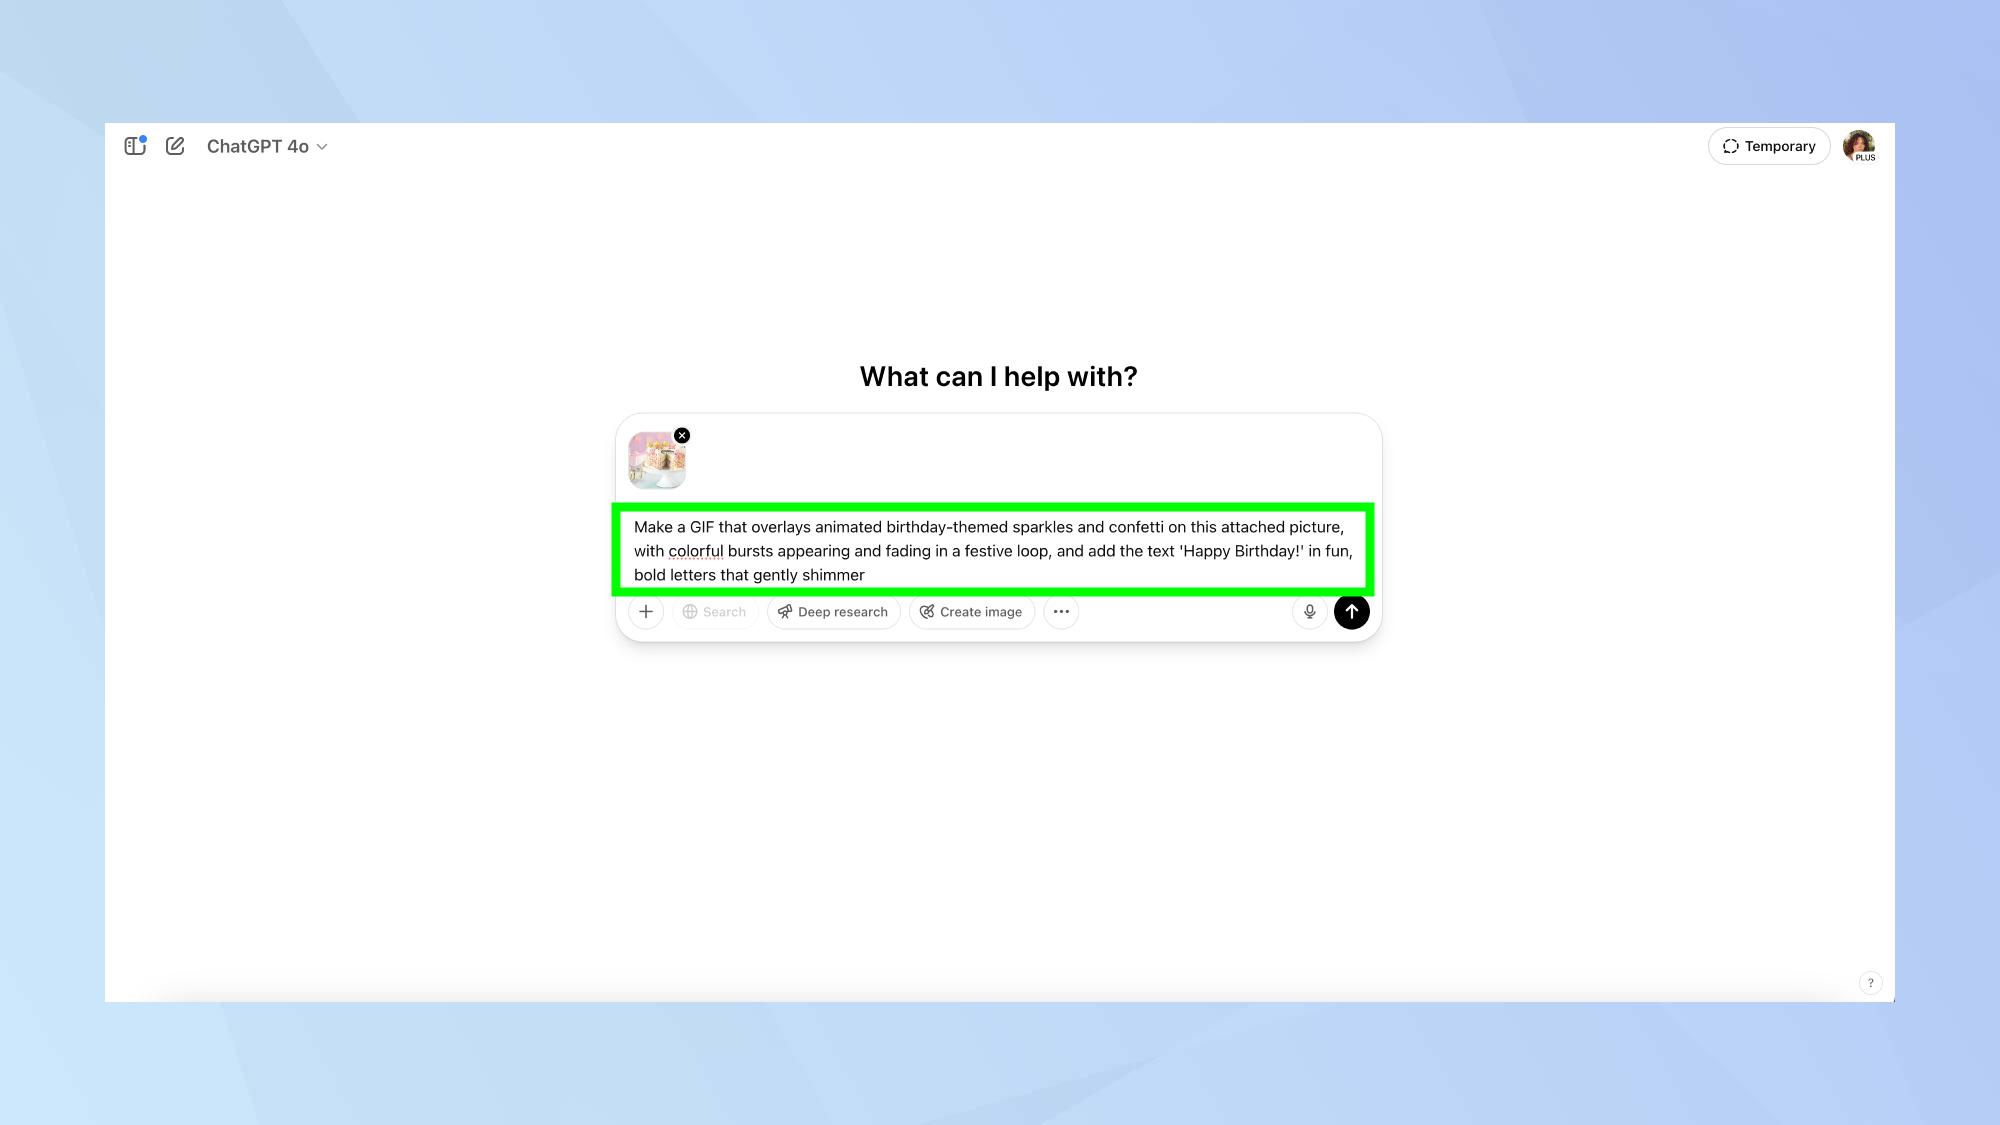
Before generating a GIF with ChatGPT, It's useful to specify the details you wish to incorporate to make it personalized and captivating. . Think about the message or text you’d like to display, whether it’s a simple greeting, a celebration note, or something more custom.
Consider the animation style , should the text sparkle, bounce, fade, or use another effect. You might also want to add visual extras like confetti, icons, or themed graphics to enhance the look.
Decide on a color scheme that matches the mood or purpose of the GIF, and select the duration for the loop , usually ranging from 3 to 10 seconds. Lastly, establish the general tone, such as playful, formal, elegant, or bold.
4. Create your GIF
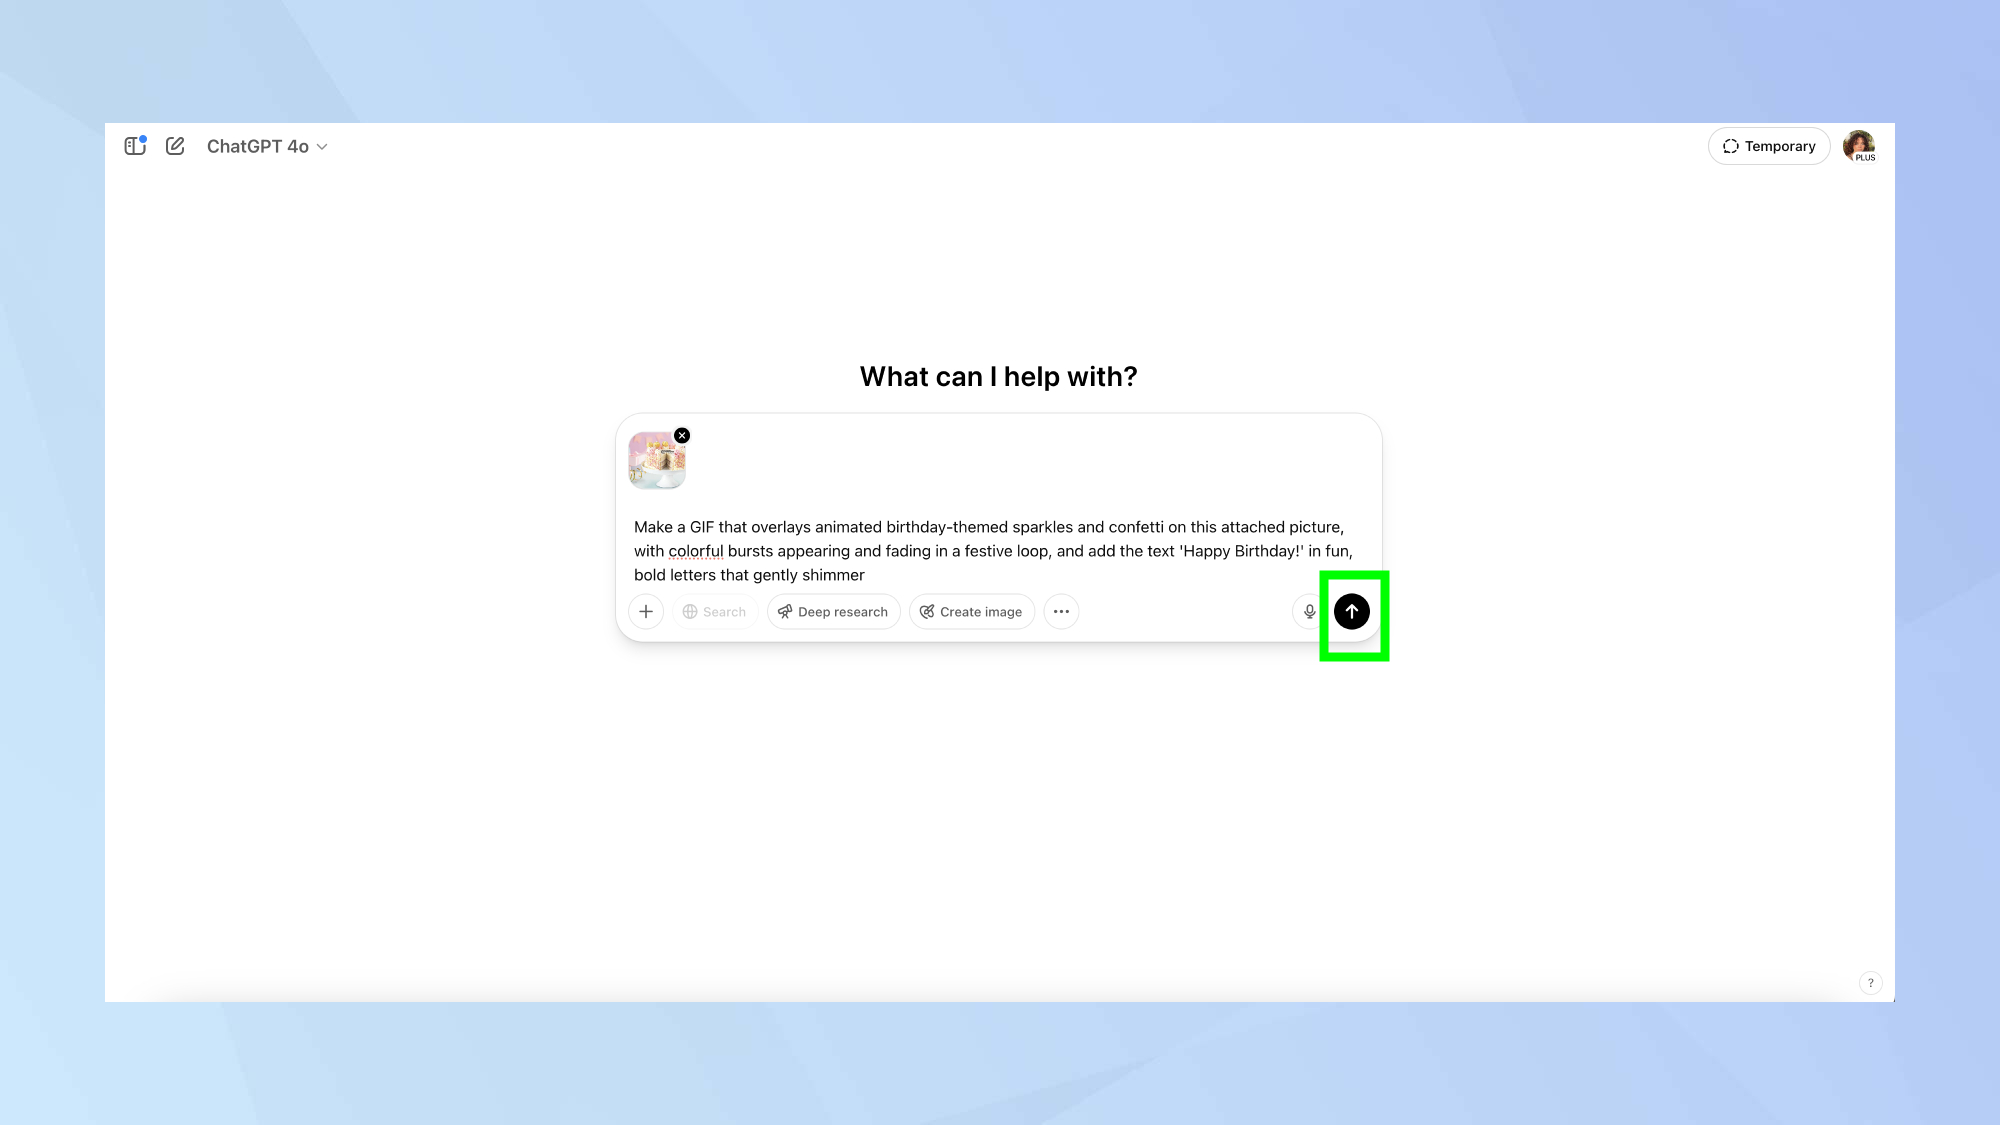
Once you have uploaded the image and written your prompt, it’s ready for creation. Click the arrow button For ChatGPT to create your GIF.
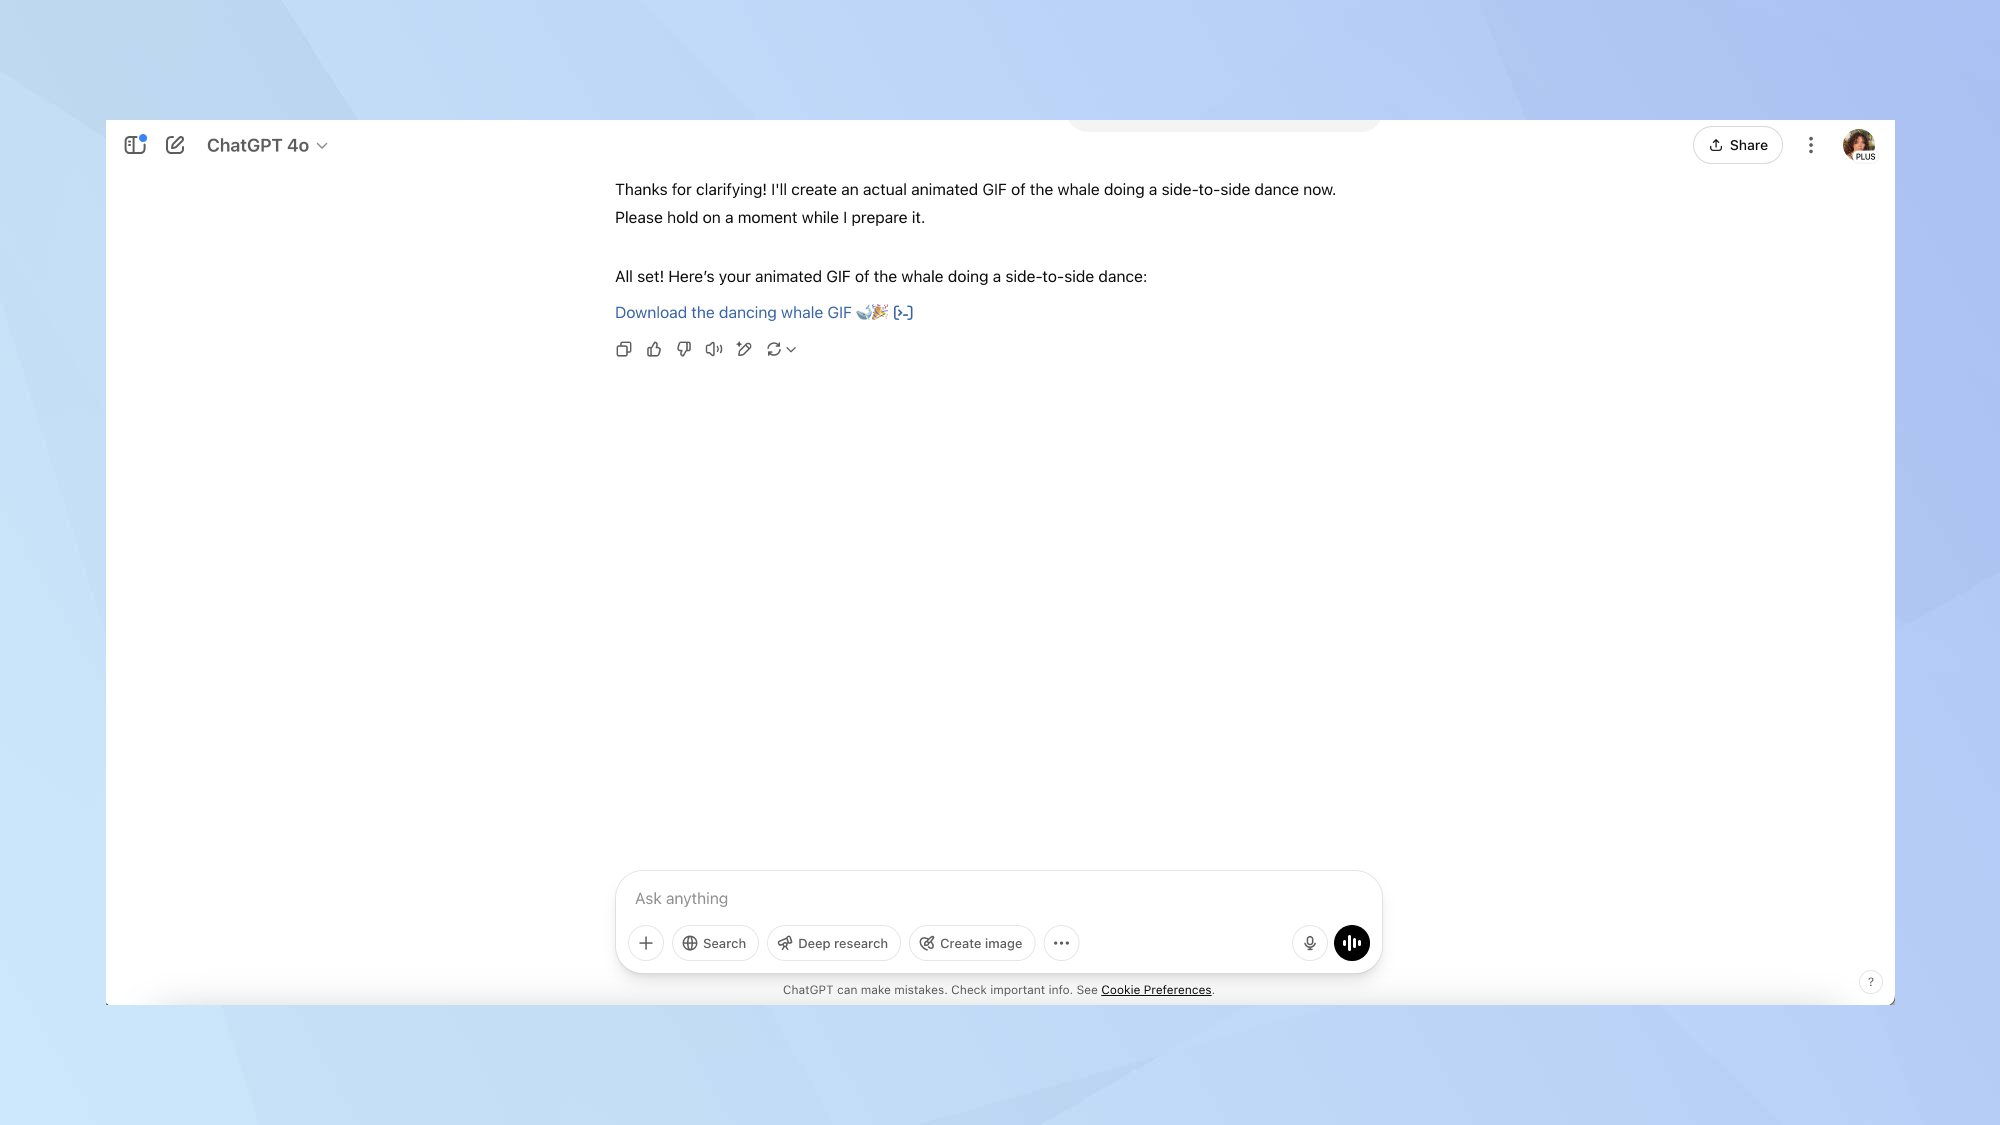
Once complete, you will find your finished GIF showcased in the conversation. Click the download button To save the GIF to your device, use what’s displayed underneath.
If you're not happy with the result, you can simply ask ChatGPT to change specific aspects, for example, "make it zoom in more slowly", or "make the GIF longer.
Once you've got the images created, you might need to go to somewhere like GIPHY.com to turn your frames into a sharable GIF.
5. Creating a GIF from scratch
If you lack an image that you wish to convert into a GIF, You could also request ChatGPT to generate one for you. This is an excellent choice for producing something uniquely creative.
Now that you know how to create your own GIFs using ChatGPT, perhaps you should explore some of our other articles about artificial intelligence?
Check out I utilize ChatGPT daily to enhance my productivity—and these 5 prompts consistently provide excellent results. and 11 prompting tips To achieve improved outcomes. Additionally, you might consider utilizing ChatGPT for this purpose. create an ideal spring cleaning timetable .
More from Tom's Guide
- OpenAI just launched its smartest AI yet that can think with images — here's how to try it
- I let Google AI take over my desktop — it found files I thought were gone forever and other mind-blowing tricks
- I rely on ChatGPT daily—here are 10 prompts essential for my routine.
Like this article? For more stories like this, follow us on MSN by clicking the +Follow button at the top of this page.
0 Response to "Create GIFs with ChatGPT: A Step-by-Step Guide"
Post a Comment